The Honest Assessment
DIY horseshoeing is a real thing. Thousands of horse owners in remote areas, on tight budgets, or with the time and commitment to learn, successfully maintain their horses' feet between professional farrier visits — or in some cases, entirely. It is skilled work that takes time to learn, carries genuine risks if done poorly, and is emphatically not a substitute for a qualified farrier on horses with complex needs.
This guide is written for owners who want to learn what they can legitimately do themselves, understand where the limits are, and handle emergency situations competently. It is not a guide to replacing your farrier entirely on performance horses, horses with hoof health issues, or horses that need the work of a trained professional.
The honest starting point: if you have access to a competent farrier, use them. The skills described on this page take months of practice to develop to a level where they reliably help rather than harm. They are worth learning as a backup, as a supplement, and for the understanding they give you of what your farrier does. They are not a shortcut.
Everything on this page is more safely learned from a person than from a screen. Ask your farrier to explain what they're doing as they work. Many farriers will let an engaged owner watch and ask questions. Some will show you how to pull a shoe or rasp a small flare if you express genuine interest in learning. A YouTube video can supplement that instruction — it cannot replace it.
What Owners Can and Cannot Do
The line is not about courage or motivation — it's about the consequences of error and the skill required to avoid them.
- Pulling a loose or sprung shoe safely to prevent further injury
- Basic maintenance trimming on horses with healthy, well-established hooves between farrier visits
- Rasping small flares or sharp edges that appear between appointments
- Applying a hoof boot after a lost shoe
- Picking out and cleaning hooves daily
- Applying basic hoof dressing or thrush treatment
- Tightening a risen clinch temporarily with a clinch block and hammer
- Resetting a shoe on a sound horse with good hoof wall after learning from a professional
- Any horse with a lameness condition — laminitis, navicular, tendon injury
- Corrective or therapeutic shoeing of any kind
- Foals and young horses — developmental trimming is a specialty
- Horses with thin soles, contracted heels, or chronic hoof quality problems
- Quarter cracks or any crack extending into sensitive tissue
- Any situation where the horse is in pain before you start
- Forging or shaping custom shoes
- Placing nails on a horse that is difficult to handle for the farrier
If the horse is lame, if you're not sure, or if something looks wrong — stop and call the farrier or vet. The cost of a professional visit is small compared to the cost of making a problem worse. DIY horseshoeing earns its value in routine maintenance situations, not in complex or uncertain ones.
Tools You Need
A basic owner toolkit is not the same as a professional farrier's kit — you don't need a forge, an anvil, or a full apron of specialty tools. But you do need specific equipment, and quality matters. Cheap tools make the work harder, less precise, and more likely to cause injury to the hoof or to you.
| Tool | What It's For | Notes |
|---|---|---|
| Hoof pick | Daily cleaning | The most-used tool in any barn. Metal pick with brush. Clean hooves before every handling session. |
| Hoof rasp | Smoothing wall, removing flares, basic leveling | Buy a name-brand farrier rasp — Bellota, Diamond, Save Edge. Cheap rasps dull immediately. Replace every 6–8 horses of use or when it stops cutting cleanly. |
| Rasp handle | Safely controlling the rasp | Never use a rasp without a handle — the tang is a serious puncture hazard. |
| Pull-offs (shoe pullers) | Removing shoes | Curved jaw pliers designed specifically to pry shoes off without levering against the hoof wall. Do not substitute standard pliers — they will damage the hoof. GE pull-offs are the standard. |
| Clinch cutter (buffer) | Cutting clinches before pulling a shoe | Essential first step before any shoe removal. Attempting to pull a shoe without cutting clinches tears the hoof wall. |
| Hammer | Driving nails, working the clinch cutter | A 14–16oz farrier's driving hammer for nailing; your clinch cutter needs a heavier knock to open clinches. |
| Nail set / punch | Starting nails straight | Helps seat the nail correctly before driving. Not strictly required but useful for beginners. |
| Clinching block | Bending clinches over neatly | A metal block held against the nail head while the clinch is bent over. Produces a flat, secure clinch without a clinching tong. |
| Hoof stand | Supporting the foot during trimming and nailing | Not essential but significantly reduces back strain during extended work. A simple metal or wooden stand at appropriate height. |
| Hoof knife | Trimming frog, bars, loose sole | Requires practice and a sharp blade. A dull knife requires dangerous force. Most owners should limit themselves to the rasp until they've learned knife use in person. |
| Horseshoe nails | Attaching the shoe | Nail size must match the shoe — typically 5 City or 5 Slim for light horses. Nails are not interchangeable; the wrong size will either not hold or drive too deep. |
| Replacement shoes | Emergency reset or lost shoe | Keep a matched pair of the size and style your farrier uses. A shoe too large or too small cannot be safely reset without modification. |
Before buying tools, ask your farrier what shoe size, nail size, and rasp brand they use on your horse. Buying compatible consumables means your emergency reset uses the same geometry as the professional work — not an approximation that may not fit.
How to Pull a Shoe Safely
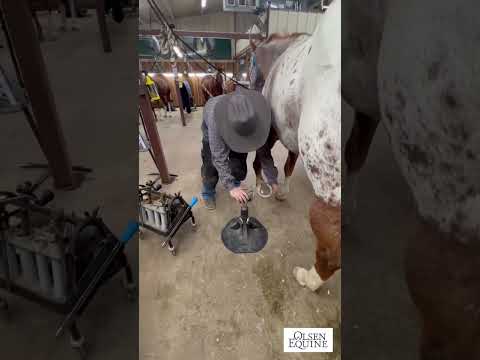
Pulling a shoe is the most important emergency skill an owner can have. A sprung, loose, or partially pulled shoe is a serious injury risk — it can catch on things, torque the hoof wall, or be stepped on by another foot. Every owner who has a shod horse should know how to pull a shoe safely.
The critical rule: always cut the clinches before attempting to pull the shoe. Attempting to pull a shoe with intact clinches tears chunks of hoof wall off with it. The clinches must be opened first.
A horse with one bare foot and three shod feet has a significant height imbalance — the bare foot is now effectively lower than the others, altering the horse's posture, loading patterns, and potentially causing discomfort. Apply a hoof boot to the bare foot immediately and call your farrier. Do not leave a horse in this state for longer than necessary.
Basic Maintenance Trimming
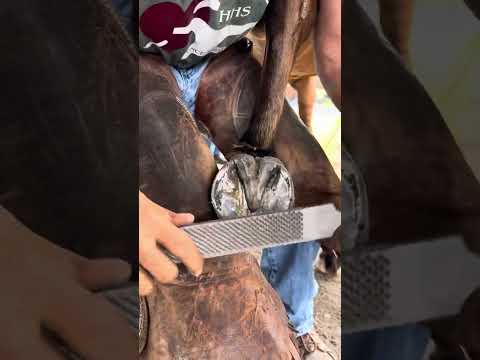
Basic maintenance trimming — keeping a barefoot horse's hooves from overgrowing between professional visits, or knocking back a small flare on a shod horse — is within reach of a motivated owner who has learned the fundamentals in person. Full corrective trimming is not.
The fundamental objectives of a maintenance trim:
- Maintain the hoof at a length where the sole is approximately level with the wall — the wall should not project significantly below the sole
- Maintain balanced medial-lateral (side-to-side) height — both sides of the hoof at the same level
- Maintain a hoof-pastern axis that is straight — not broken forward or backward
- Remove flares — sections of hoof wall that have bent outward — by rasping the outer wall only
- Keep the mustang roll (for barefoot horses) — a beveled edge on the bottom of the hoof wall that prevents chipping and cracking
In owner trimming, the most common damaging mistake is removing too much. You can always rasp more — you cannot put material back. If you're uncertain whether a hoof needs more removed, stop and look again at the horse standing. If there is any doubt, leave it for the farrier. A maintenance trim's goal is to prevent overgrowth and address obvious flares, not to achieve the precision balance of a professional trim.
Nailing on a Shoe
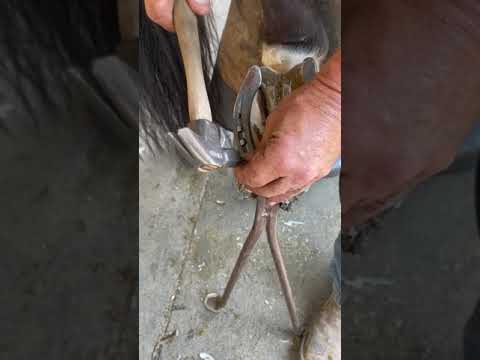
Nailing on a shoe is the skill with the highest consequences for error. A nail placed too close to the white line — a "close nail" — invades the sensitive laminar tissue and causes lameness that can last days to weeks. A nail driven in the wrong direction exits the hoof wall in the wrong location and must be removed immediately. Getting this right requires practice on dummy hooves before attempting it on a living horse.
Before You Start
- Confirm the shoe fits the hoof correctly — it should cover the entire bearing surface of the hoof wall with no overhang inward and appropriate coverage at the heels. A shoe that doesn't fit properly cannot be corrected by nailing it on.
- Have your nails ready — the correct size for this shoe. Nails that are too long will exit the wall too high; too short will not clinch adequately.
- Confirm the horse is calm, standing on level ground, and that you can safely hold the foot in position through the nailing process.
If a nail has been placed too close to sensitive tissue, the horse will often react when the nail is driven — pulling the foot away, vocalizing, or becoming suddenly fractious. If this happens, remove the nail immediately. Do not assume the horse will "settle." After removing a close nail, the horse may or may not be lame. If there is any doubt, call your vet — a close nail that's been left in for even a short time can introduce infection into sensitive tissue.
Clinching the Nails
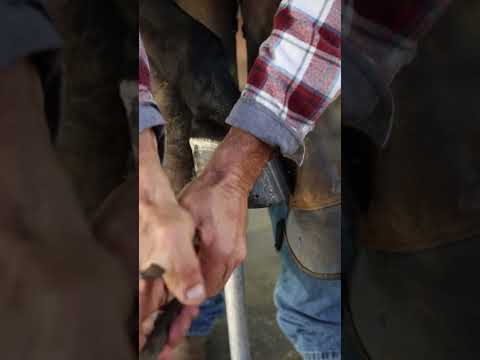
Clinching — bending the nail stubs flat against the hoof wall to lock the shoe in place — is the final step in shoeing and the one that determines how securely the shoe stays on. A well-clinched shoe with good clinches will stay on for the full shoeing cycle. Poorly clinched nails rise over time, become sharp and potentially dangerous, and allow the shoe to shift or loosen.
The Most Common DIY Mistakes
These are the errors that consistently separate DIY work that helps from DIY work that causes problems.
- Pulling a shoe without cutting the clinches first. The single most damaging beginner error. Always cut every clinch before attempting shoe removal.
- Removing too much sole. The sole is protective. An aggressive trim that thins the sole exposes the coffin bone to bruising on hard ground. Trim the wall, not the sole.
- Uneven medial-lateral balance. Trimming more from one side than the other alters the horse's loading patterns. Check from behind frequently and stop if you're uncertain.
- Using the wrong nail size. Too large and the nail won't drive cleanly; the head may not seat. Too small and it won't clinch adequately. Match to your farrier's specification.
- Not supporting the foot properly. Trying to nail while the horse shifts weight onto the foot you're working on produces crooked nails and frustrated owners. A hoof stand or a helper makes a significant difference.
- Driving nails straight in. Nails must angle slightly outward to exit the wall at the correct location. Straight nails go deep and either hit sensitive tissue or don't exit where needed.
- Skipping the notch before clinching. Clinches without notches rise quickly and become sharp and dangerous.
- Working on a horse that isn't cooperating. A horse that won't stand quietly for the farrier will not stand quietly for you. Do not struggle with a reluctant horse — you will make errors and risk injury. Call your farrier.
- Continuing past uncertainty. If you're not sure what you're looking at, if something seems wrong, or if the horse is reacting — stop. Call your farrier. The value of DIY work is in routine situations where everything is straightforward. Stop the moment it's not.
Emergency Situations — What to Do Right Now
These are the scenarios where an owner needs to act before the farrier arrives.
Sprung or Loose Shoe
A shoe that is partially detached but still hanging on is more dangerous than a missing shoe — it can catch on things and tear a large section of hoof wall off. If a shoe is visibly loose, partially pulled, or sprung outward at a heel, pull it off completely following the steps above, apply a hoof boot, and call your farrier. Do not tape a loose shoe back on.
Risen Clinch
A clinch that has risen above the wall surface is sharp and can lacerate the opposite leg. If a clinch is visibly proud of the wall — you can feel it with your finger as a sharp projection — hold the clinch block against the nail head and knock the clinch back flat with the hammer. This buys time until the farrier can reset the shoe properly. Check all clinches at the same time — if one has risen, others may have as well.
Lost Shoe — Barefoot on One Foot
Apply a hoof boot immediately. Limit the horse to soft ground until the farrier arrives. If no boot is available and the horse must move on hard ground, keep movement minimal and on the softest available surface. Do not pack the hoof with anything unless directed by your farrier — well-intentioned packing with mud or manure can introduce bacteria to an already stressed hoof wall.
Nail Sticking Out
If a nail is protruding from the outside of the hoof wall — either driven incorrectly or partially worked loose — it must come out. Grip the nail head with pull-offs and pull it straight out along the angle it entered. Do not wiggle or lever it sideways — this enlarges the nail hole. After removal, the horse should be assessed for lameness before any further work. A nail that has been working loose for a while may have caused irritation; a nail driven incorrectly may have touched sensitive tissue.
Not in a contacts list buried in your phone — physically on the barn wall or in a clearly labeled place accessible to anyone who helps at your barn. Farrier emergencies don't always happen when the primary owner is present. Anyone caring for your horse should know who to call and have the number they can reach immediately.
Watch & Learn
Four videos covering the core DIY horseshoeing skills — emergency shoe removal, trimming, nailing, and clinching. Tap any thumbnail to play.